|

Tips
on Preparing
Yourself
Note:
All
graphics will appear in the cart the exact
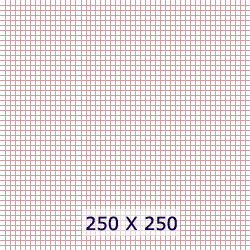
size that they are. Scaling is not an option. So, if your graphic is
500X500 pixels, that's the size it will be
on your customer's screen. Be sure to
size your graphics appropriately. The
scale below gives some idea of what some
common sizes are:

 
-
Have a print
out of your product list, including any
descriptions, available sizes, colors or weights
in front of you and ready to go. You can always edit the product
descriptions at a later date but it is much more
efficient and accurate to create everything
at the same time.
-
The
database must be built online one item at a time and
cannot be uploaded to the site.
-
Most
clients prefer to load their entire product
line at once. They may not even have
it all available, but they don't have to go
in and add more items later. It is
possible to enable or disable various items and
categories whenever you want so your database
might have 50 items but only 25 would be enabled
at any one time.
The
Process
Step
One - Set up the parameters for your products
in the Configuration Setup view. Do you
offer sizes? Colors? Monograms? If you
want to see it in the Item Maintenance view, then
you will need to enable it first. Make sure
to enable every field you will possibly
need.
Step
Two - Create the categories you will
need. The categories function as a left-hand
menu bar and will help your customers navigate
throughout the shopping cart.
Step
Three - Build your database one item at a
time. You will need to decide which items, if any,
you want to display on the home page (called a
"Deep Link.")
Step
Four - To make any changes, click on the
Edit Items link, which will bring you to a view of
the entire database. From there you can edit
the Item Maintenance view. Be careful if you
click on Edit Categories. If you delete a
category, it will disable all items in that
category.
Go
to a line-by-line guide to setting up categories
and items.
Go
to an overview of the billing setup process.
|